![]() Our customers and SnowMirror users continue to surprise us every day. We have implemented so many new features into SnowMirror based on the customer feedback we cannot even count them. ServiceNow admins and data analysts are using SnowMirror in many different ways. This simple post describes one interesting SnowMirror requirement which we resolved by providing a solution design and a sample guide. Let us share the idea of using an external scheduler to fire SnowMirror synchronizations.
Our customers and SnowMirror users continue to surprise us every day. We have implemented so many new features into SnowMirror based on the customer feedback we cannot even count them. ServiceNow admins and data analysts are using SnowMirror in many different ways. This simple post describes one interesting SnowMirror requirement which we resolved by providing a solution design and a sample guide. Let us share the idea of using an external scheduler to fire SnowMirror synchronizations.
Although SnowMirror contains a powerful embedded scheduler, the requirement was to leverage an existing external scheduler to trigger individual synchronizations. It is possible to imagine even other situations when to trigger a data download from ServiceNow from an external tool. For example, if there is an event encountered or even on-demand trigger from a reporting tool. For these scenarios a similar approach to this guide can be applied. This guide will use Windows Task Scheduler and a Windows batch file to invoke SnowMirror.
The solution is rather simple by using the SnowMirror REST API. It contains the same set of operations as the web interface so it is possible to create, modify and watch the synchronizations including action triggering (e.g. Synchronize or Clean & Sync). The only question is if the external tool is able to call a REST web service over HTTP. If not, as in case of the Windows Scheduler, some scripting has to be involved.
1) Create a new synchronization without any schedule
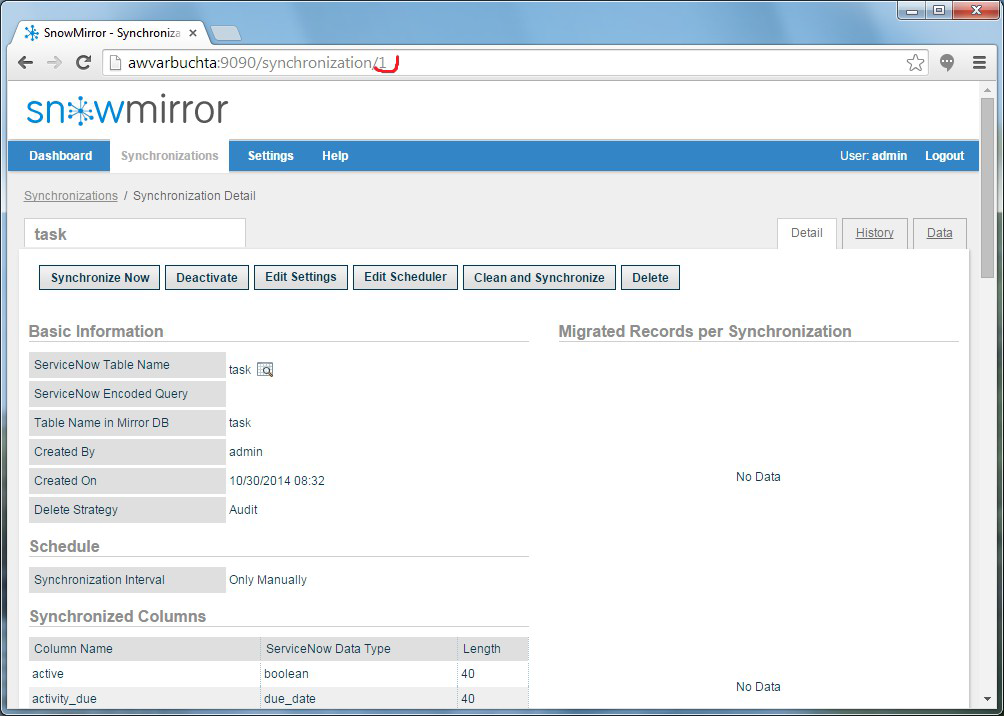
This step is really easy and straightforward. While creating a new synchronization using the New Synchronization wizard in SnowMirror select Only Manually for Synchronization Interval on the last page of the wizard. Then remember the ID of the synchronization. You can find the ID in the synchronization detail URL (see the picture to the right). The same ID has to be used in the REST API URL.
2) Create a SnowMirror user with API Caller role
The REST API is protected by an HTTP basic authentication. The SnowMirror user account has to have an API Caller role assigned. Create a user snowmirror_api with some password and assign it two roles: Synchronization Administrator and API Caller. 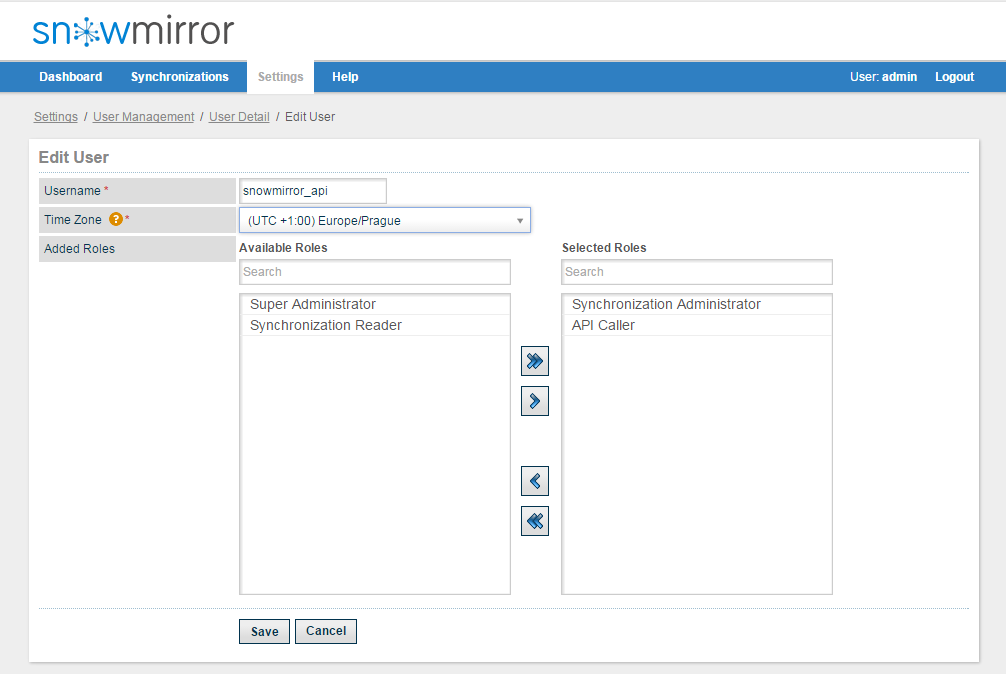
3) Modify the batch file
Our SnowMirror team has prepared a sample batch file (snowMirror_synchronize.bat) to call the REST API on the Windows platform. Please note the BAT file is not production ready and should be improved before using it for a real project.
Edit the SnowMirror host and port (line 12), user account (lines 10 and 11) and a location of the BAT file (line 15). Usage of the script is simple: snowMirror_synchronize.bat <synchronization_id>
4) Download command line utilities
The batch file uses utilities CURL and JQ. Download CURL from http://curl.haxx.se/latest.cgi?curl=win64-nossl and JQ from http://stedolan.github.io/jq/download/. Place both executables to the same directory as the BAT file.
Test the batch by executing it with your synchronization ID (e.g. snowMirror_synchronize.bat 2)
5) Configure Windows Task Scheduler
Schedule a task using the Task Scheduler. A simple guide can be found here: http://windows.microsoft.com/en-us/windows/schedule-task#1TC=windows-7
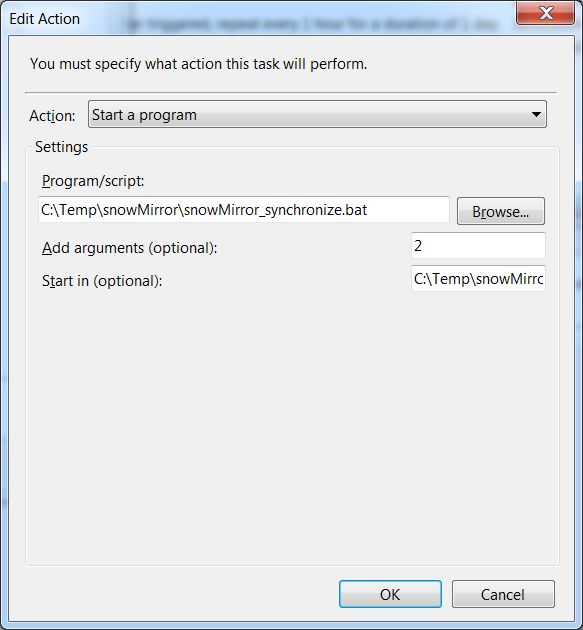
Configure the Start program action, select the batch file and add the sync ID as an argument. Use the picture as an example.